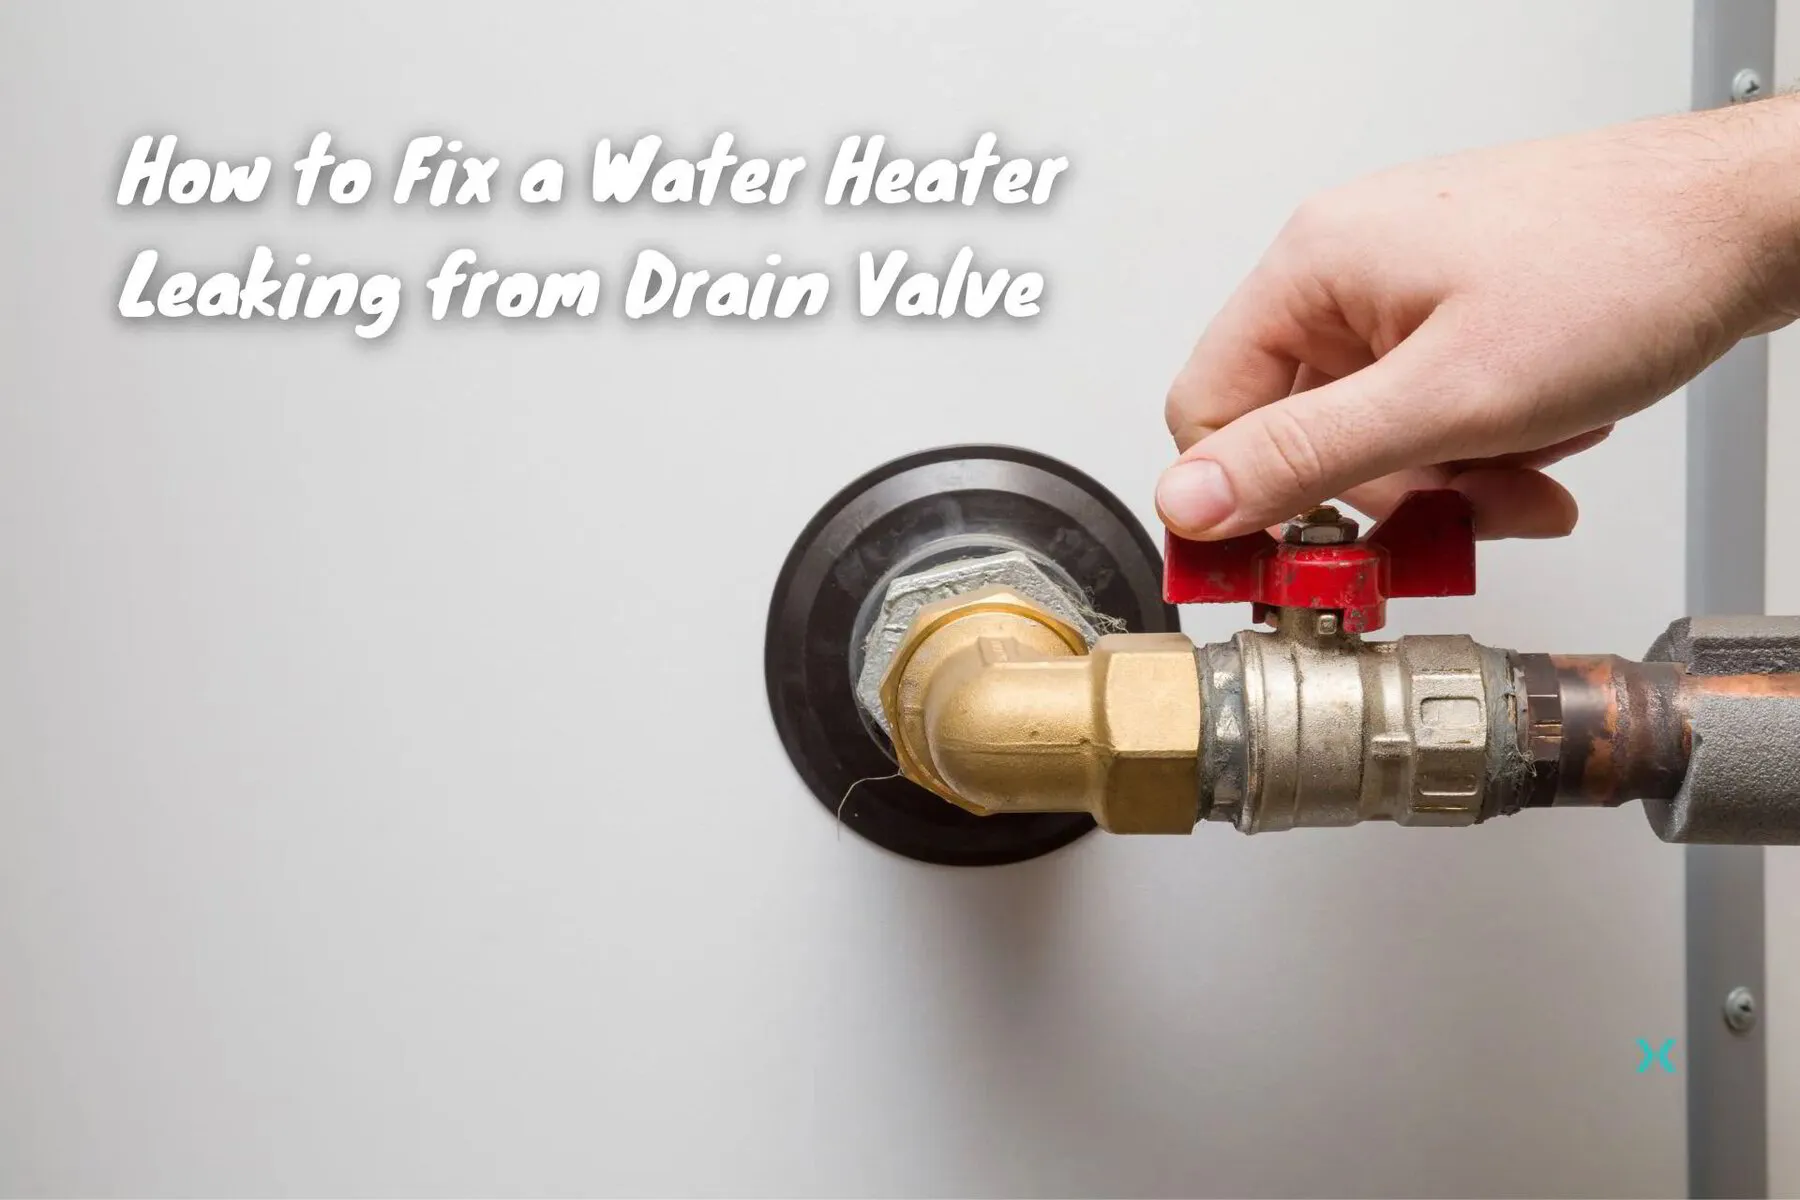
💧 How to Fix a Water Heater Leaking from Drain Valve
Have you noticed water pooling around your water heater’s drain valve? If so, it’s vital that you read this article.
A leaking drain valve can cause water damage and lead to costly repairs if not addressed promptly.
Thankfully, in many cases, it can be resolved by any determined homeowner with a few tools.
In this article, we will guide you through the process of fixing a leaking water heater from the water supply to the drain valve step by step.
💧 Understanding Your Water Heater
A typical water heater consists of several key components that work together to heat and store water.
This makes it an essential appliance in any household, as it provides hot water for many important daily activities such as bathing, washing dishes, and doing laundry.
Understanding the key components of your water heater, including the drain valve, is crucial for proper maintenance and troubleshooting.
By familiarizing yourself with how these components work together, you can better identify and resolve any issues that may arise, ensuring a steady supply of hot water in your home.
💧 Key Components of a Water Heater
Now that we've covered some of the reasons why your air conditioner may be freezing up let's discuss some quick fixes for common causes.
🔥 The Hot Water Tank
The first and most prominent component is the tank, which is where the water is stored.
The tank is usually made of steel and is designed to withstand the high pressure and temperature required for heating water.
Inside the tank, there are one or two heating elements, depending on the type of water heater.
These heating elements generate the heat necessary to warm up the water.
🔥 The Pressure Relief Valve
Another crucial component is the pressure relief valve.
This valve is designed to prevent excessive pressure buildup inside the tank, which could potentially lead to a dangerous situation.
If the pressure inside the tank exceeds a certain limit, the pressure relief valve opens up, releasing the excess pressure and preventing any potential damage to the water heater.
🔥 The Drain Valve
Lastly, we have the drain valve, which is the focus of our discussion.
The drain valve is a small faucet located near the bottom of the water heater.
Its primary function is to provide a means to drain and flush out sediment that can accumulate inside the tank over time and can affect the efficiency and performance of the water heater if not removed periodically.
💧 Identifying the Problem
The first step in fixing a water heater leak is to confirm that this is the cause of the issue.
By recognizing the signs and potential causes of a drain valve leak, you can be confident in your diagnosis.
🔥 Drain Valve Leak: What’s Going On?
The drain valve is a simple yet crucial part of water heaters.
When you need to drain the tank or flush out sediment, you open the drain valve, allowing the water to flow out through a hose or pipe connected to it.
Thus when the water heater drain valve is closed, no water should leak.
However, due to wear and tear or faulty installation, the drain valve may develop a leak, most notably coming out of the pressure relief valve where it shouldn’t be.
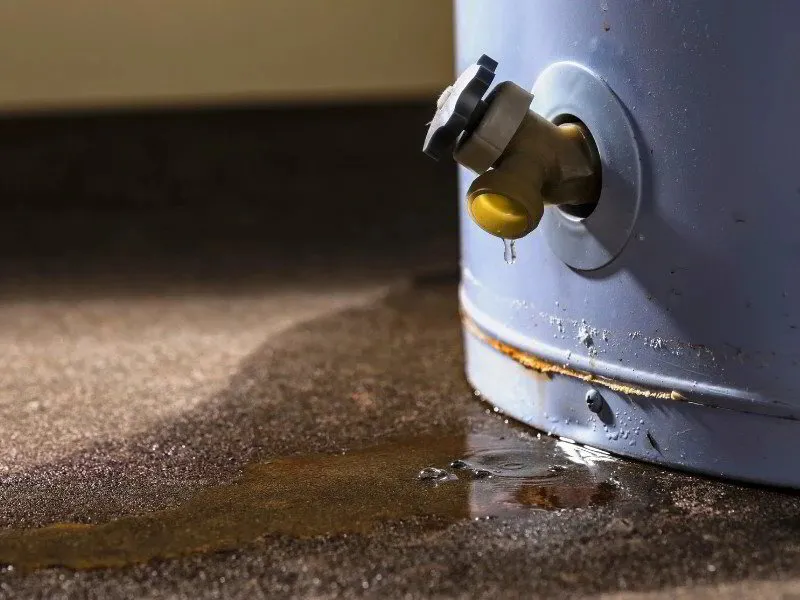
🔥 Signs of Drain Valve Leaks
Water pooling around the base of your water heater.
A slow drip or a continuous stream of water coming from the valve, particularly from the pressure relief valve.
Unexplained hissing sounds coming from or near the valve.
🔥 Potential Causes of a Leak
Several factors can contribute to a leaking drain valve.
Over time, the valve can become loose through normal usage, allowing water to escape.
Sediment buildup can also obstruct the valve, causing it to leak without necessarily indicating a larger problem with the valves themselves.
If your water heater drain valves are new, they’ll need to be repaired; but a faulty or worn-out valve may need to be replaced to resolve the issue.
💧 Tools Needed for the Repair
Before you start working on fixing the leak, you have to make sure you have all the necessary tools to ensure a smooth repair process.
Having the right tools at your disposal will make the task of water heater leaks easier and more efficient.
🧰 Essential Tools for Fixing a Leak
To fix a leaking drain valve, you will need a few common tools, including:
Pliers, an adjustable wrench, or a pipe wrench
Teflon tape
a bucket or a hose for water drainage
a replacement valve (if necessary)
🧰 Safety Equipment for DIY Plumbing
🛑 STOP: Safety should always be a priority when working on any home repair project.
To prevent causing any damage to yourself, wear protective gloves and safety goggles to safeguard your hands and eyes.
You may want to prepare your materials before starting if you find operating with gloves difficult.
You may also want to consider using a drain pan or placing towels around the whole hot water heater to catch any stray water that might be released during the repair.
💧 Step-by-Step Guide to Fixing a Leaking Drain Valve
Now that you have the necessary tools and understanding of the issue, it’s time to dive into the repair process.
Follow these steps to fix your water heater’s leaking drain valve.
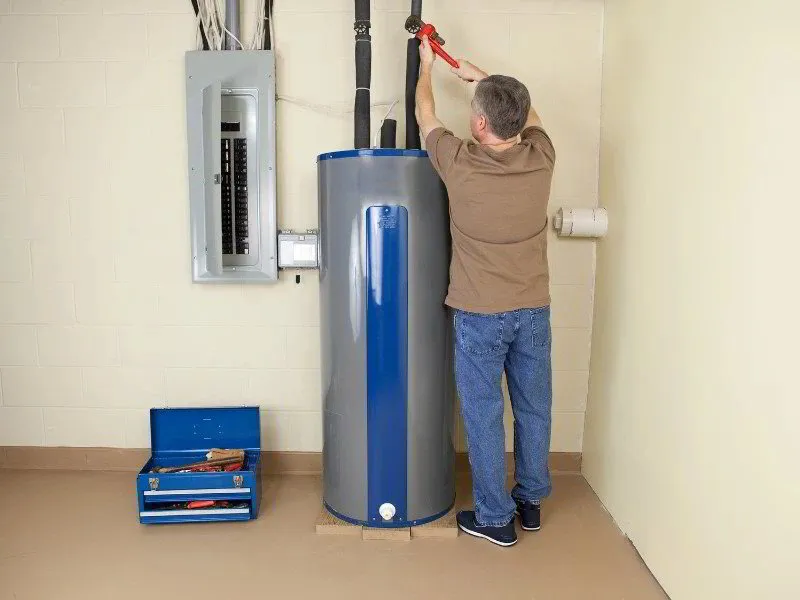
🧰 Shutting Off the Water and Power
Before starting any plumbing repair, it’s crucial to turn off the water and power supply to the water heater.
The way you go about this depends on what kind of system you have.
If you have a gas water heater, you’ll need to turn the gas off by turning the pilot knob off on the water heater.
However, if you instead have an electric water heater, switch off the power supply to the water heater at the main electrical panel.
No matter which system you have, you’ll need to turn off the water supply.
Locate the shutoff valve, often found on the cold water inlet pipe leading to the heater, and turn it clockwise to stop the water flow.
🧰 Draining the Water Heater
To prevent water from gushing out during the repair, you need to drain the water heater.
Attach a hose to the drain valve’s outlet and place the other end in a suitable drainage location, such as a floor drain or a large bucket.
Open the valve by turning it counterclockwise, allowing the water to flow out.
It may take some time to empty the tank completely, but once it’s done, you’ll be finally ready to move onto the final step.
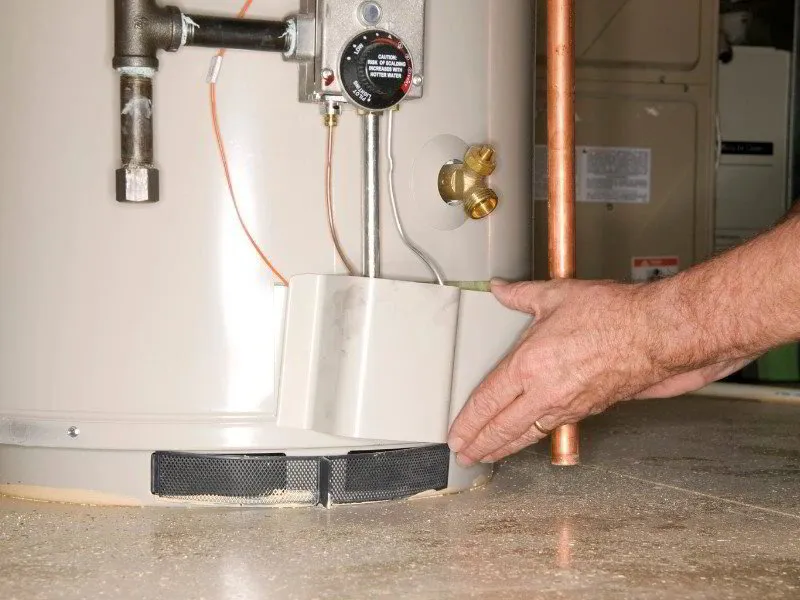
🧰 Replacing or Repairing the Drain Valve
Once the water heater is drained, you can proceed to replace or repair the drain valve.
If the valve is easily accessible and it’s only a matter of tightening or reseating it, follow the manufacturer’s instructions for adjusting or repairing the valve.
If the valve is beyond repair and you have a replacement ready, carefully remove it using pliers or an adjustable wrench.
Apply Teflon tape to the threads of the new valve and tighten it securely.
💧 When to Call a Professional
While fixing a leaking drain valve is often a manageable DIY task, there are instances where it’s best to seek professional assistance.
Recognizing the signs of more serious issues and knowing when to call a trusted plumber will ensure the safety of your water heater and your home.
If you notice extensive corrosion, cracks, or other damage to the water heater tank itself, you should contact a professional plumber immediately.
These issues require specialized knowledge and equipment to address properly and could cause serious long-term damage if left untouched.
💧 Finding a Trusted Plumber
With a little effort and the right approach, we’ve shown that you can save time and money by fixing common water heater leak issues yourself.
However, in more serious circumstances, or if you ever feel unsure or uncomfortable with a DIY repair, you should definitely consult a professional plumber to ensure the best possible outcome.
For a service that will get your water heater working for years to come, you’ll need plumbers who are licensed, insured, and experienced in water heater repairs.
Want to learn more about your home's plumbing system? Check out our other plumbing articles!
Scott Harding
Scott is the main author of DIY Home Comfort. He's also an experienced HVAC technician that enjoys home renovation and spending time with his family. You can find out more about him here.